
This document describes how to obtain necessary information for Gmail SMTP configuration to use on your website developed with WordPress. At the end of all processes, Client ID and Secret ID keys will be generated via your gmail account and you will be able to use these keys in Gmail SMTP configuration.
1- First of all, login to your Gmail account that you plan to use for SMTP configuration on your website.
2- Click https://console.developers.google.com to access the Google developers console.
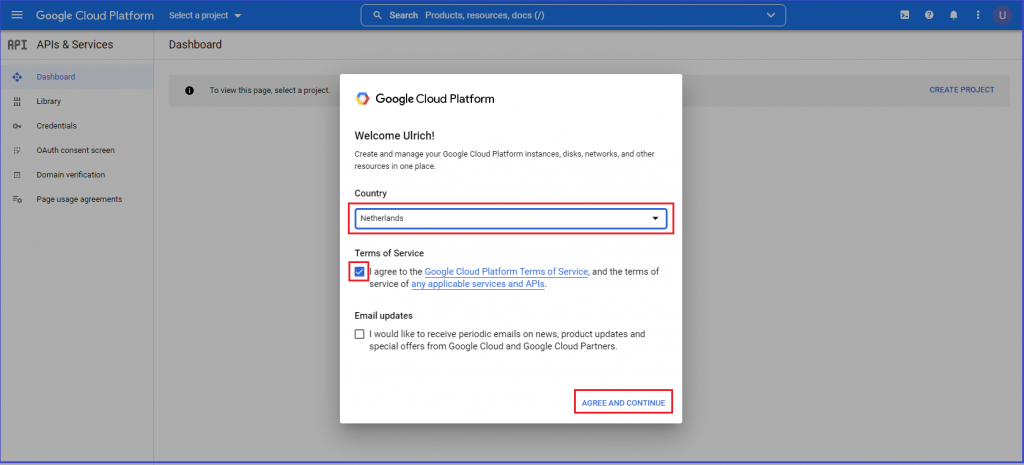
3- On the page that opens, select the name of your country on popup, mark that you accept the Terms of Service and click the AGREE AND CONTINUE button.
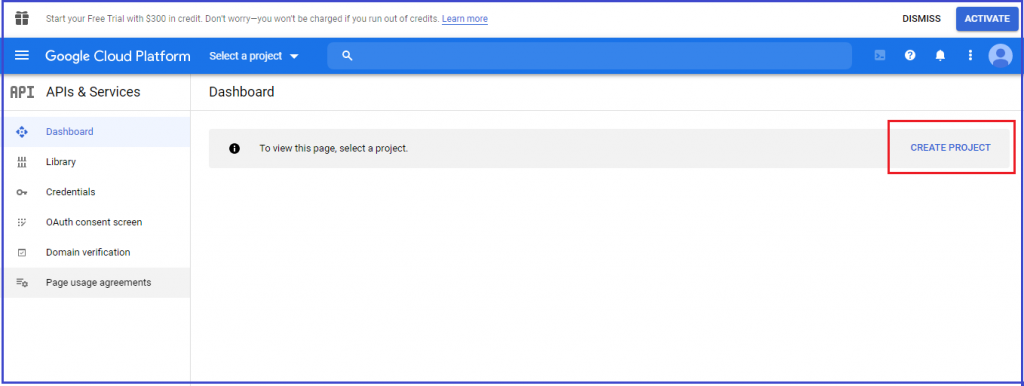
4- Continue by clicking the CREATE PROJECT button on the right of the screen on the next page.
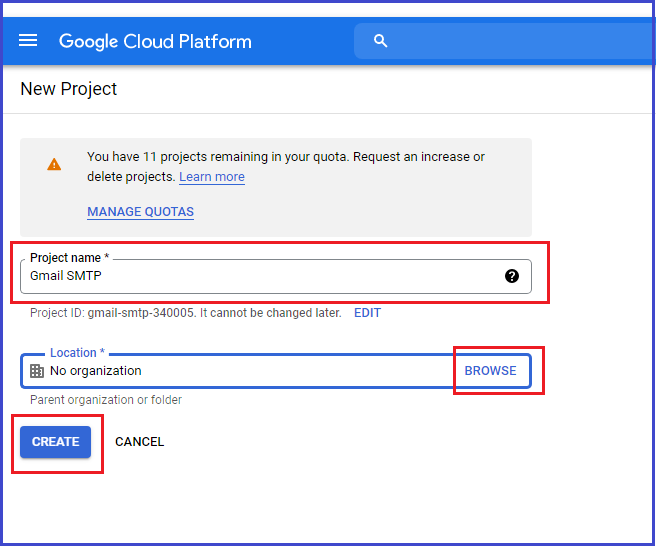
5- Enter the name of your project on the page that opens. (You can enter the domain name of your website or the name of your company. You can leave the Location field blank or you can choose one of the options by clicking the BROWSE button.)
Then click the CREATE button at the bottom of the form to continue.
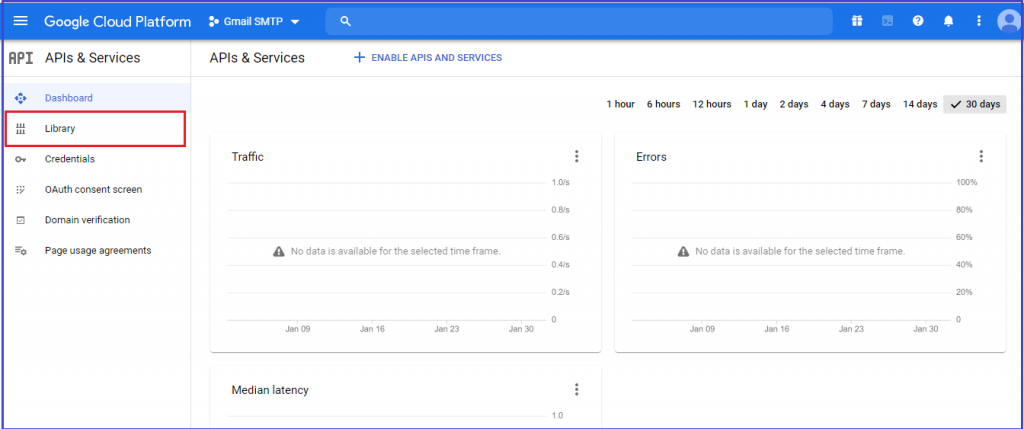
6- Continue by clicking the Library option in the menu on the left of the page that opens.
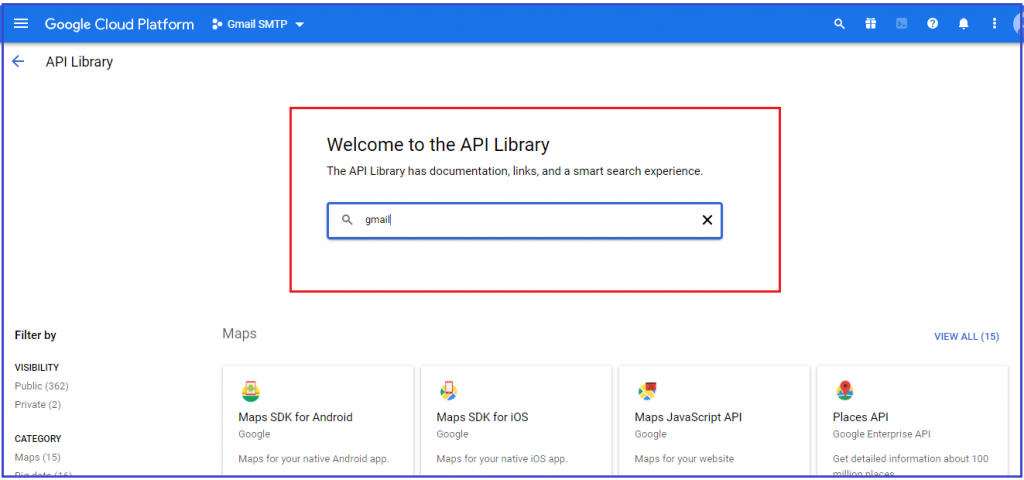
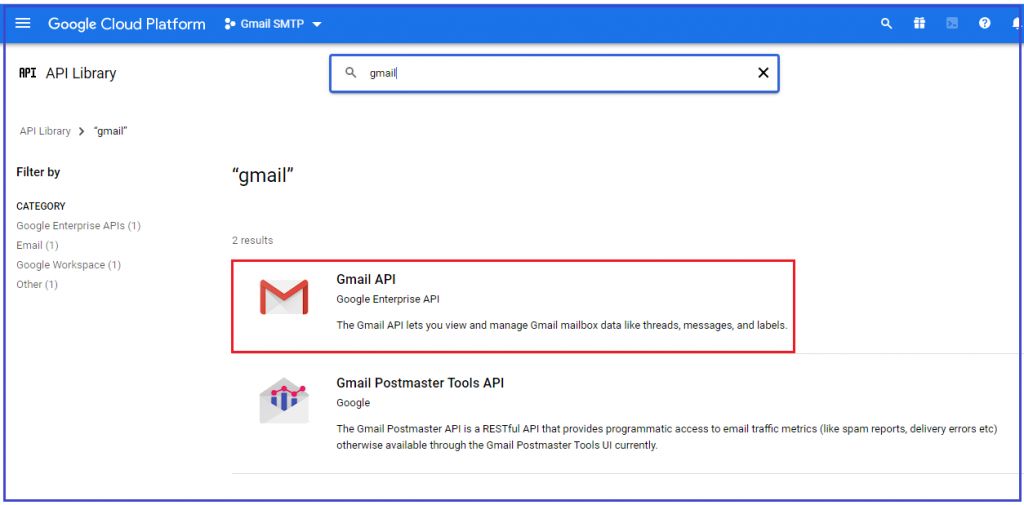
7- Type “gmail” in the search bar on the page that opens and click enter to search. Continue by clicking the Gmail API from the options on the page that opens.
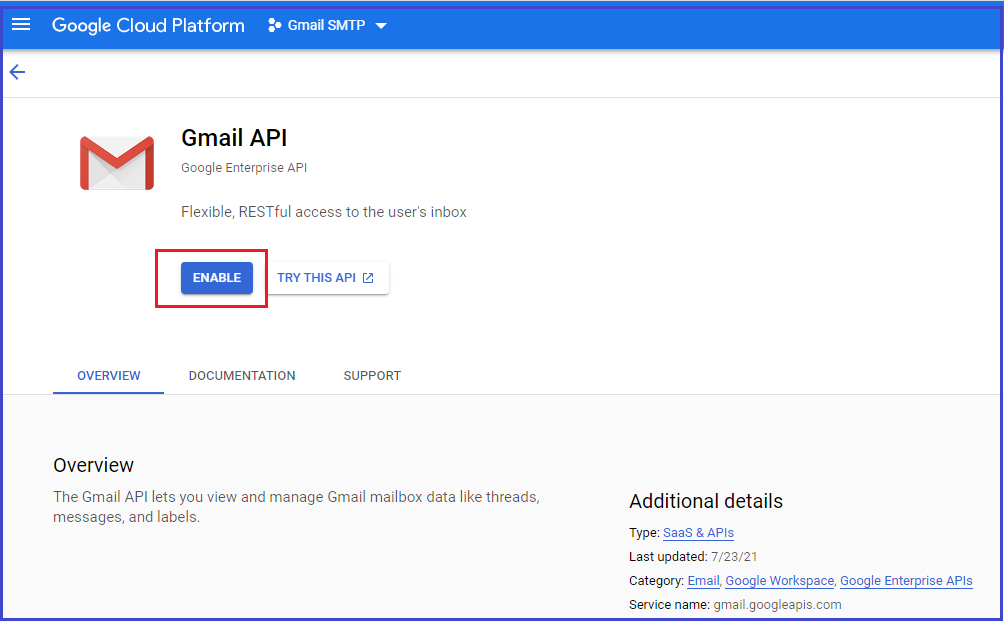
8- Continue by clicking the ENABLE button on the page that opens.
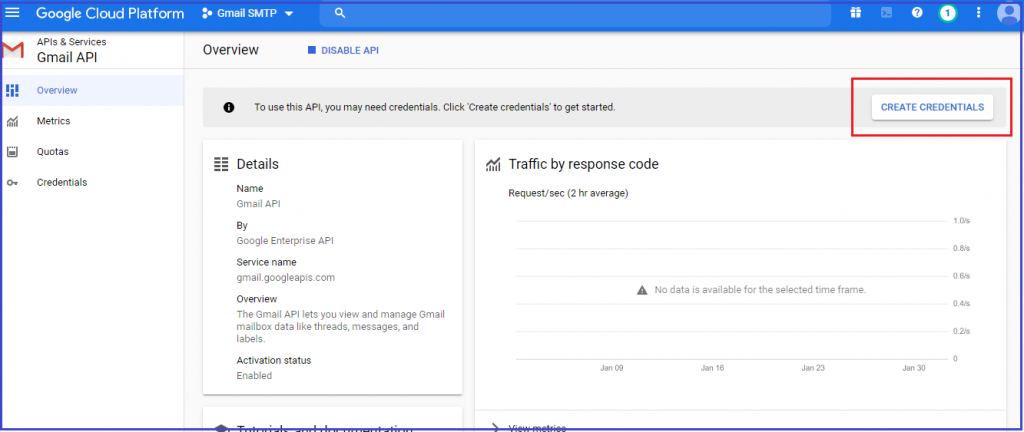
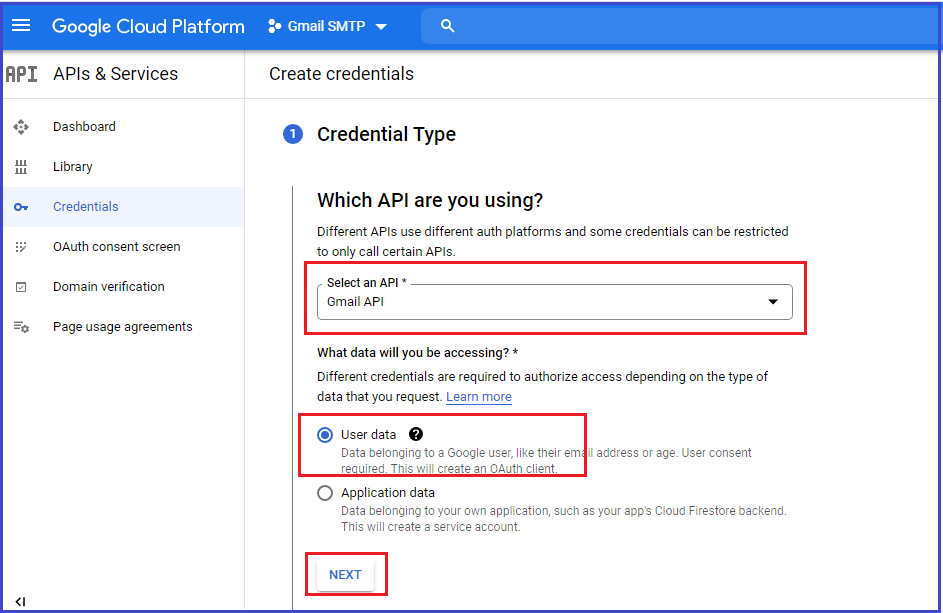
9- Clicking the CREATE CREDENTIALS button on the right of the screen on the page that opens.
10- Click the GMAIL API option in the API list on the page that opens. Also, check the User Data option below and click the NEXT button.
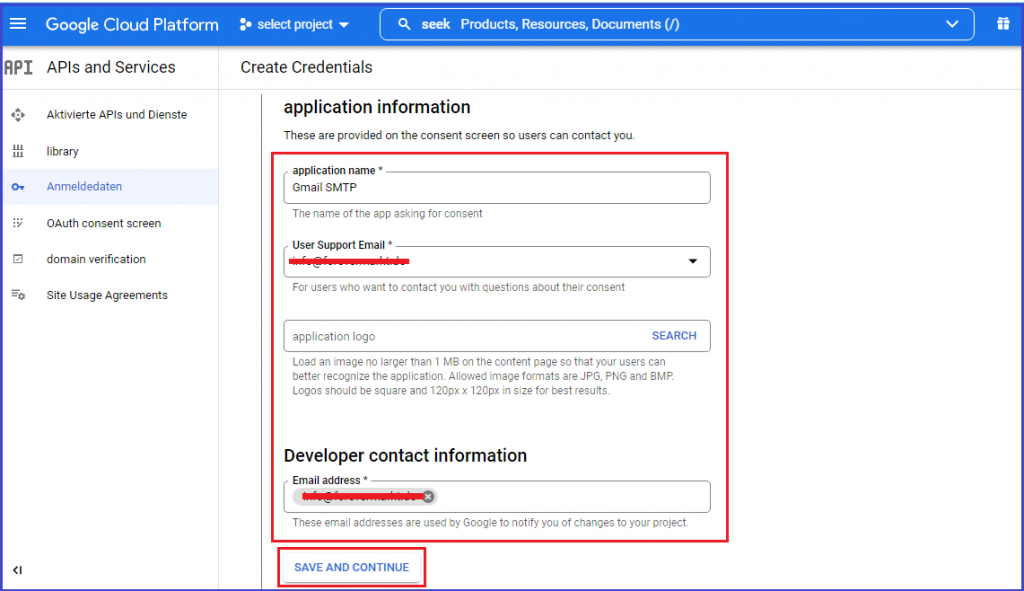
11- Information form on the page that opens. You can type the domain name of your website in the App Name For the User Support Email field, select the e-mail address you will use to communicate with users who are members of your website. You can optionally upload a logo to the app logo field.
For the Developer Contact Information field, enter your e-mail address where Google will send its notifications. After filling out the form, click the SAVE AND CONTINUE button to continue.
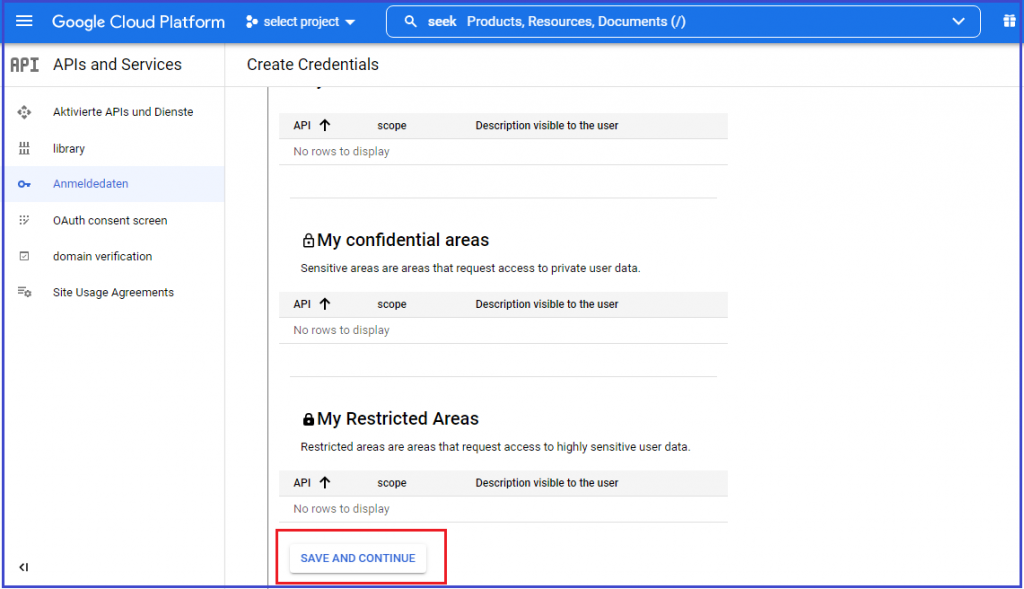
12- Continue by clicking the SAVE AND CONTINUE button without making any markings on the ADD OR REMOVE SCOPES section that opens.
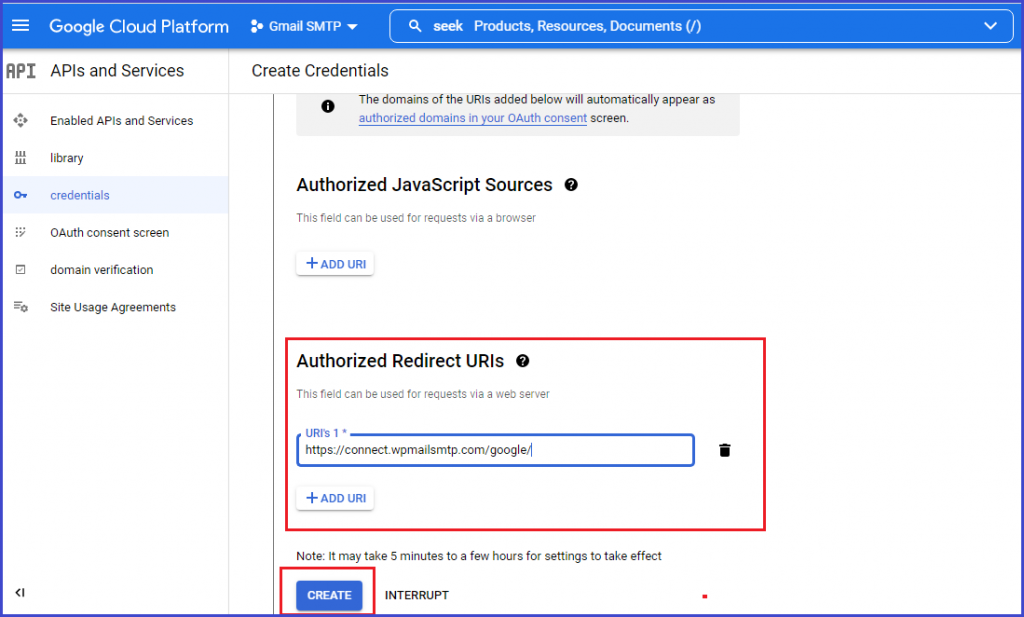
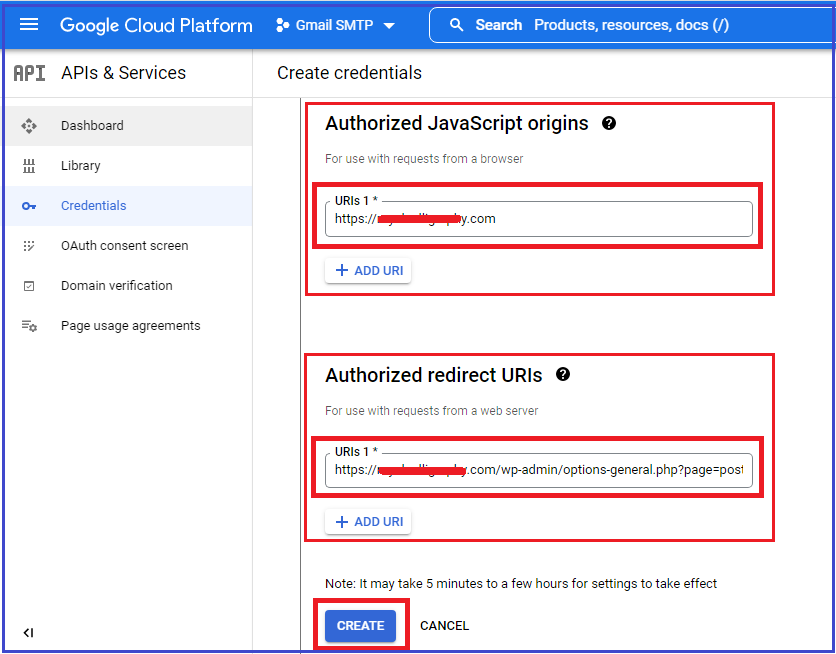
13- Fill in the OAuth Client ID form that opens. Select “web application” from the list in the application type field. You can write the domain name of your website in the Name field.
14- After completing the form,
OPTIONAL:
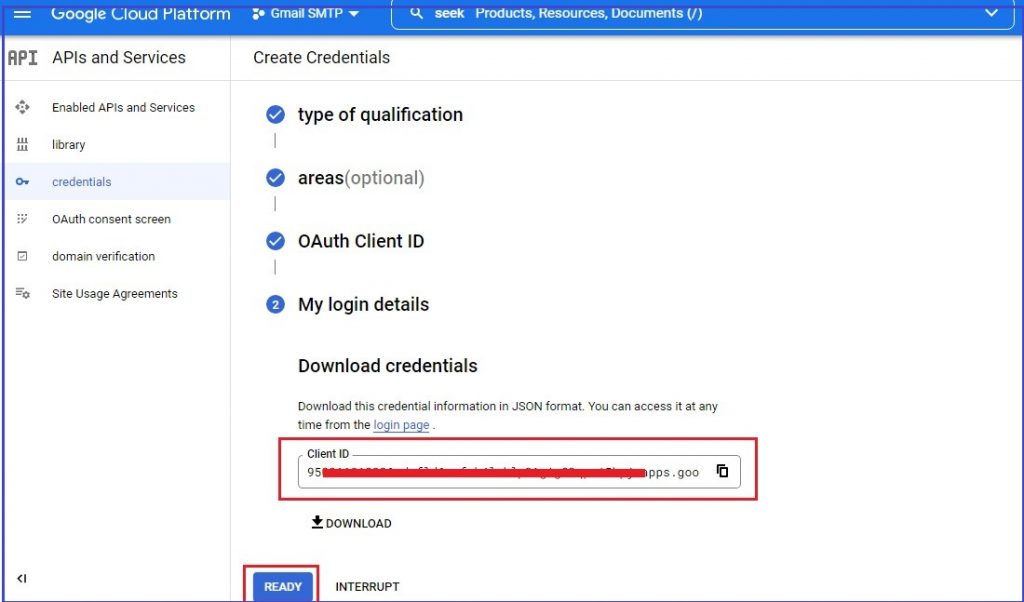
15- Thus, you have generated the GMAIL SMTP Client ID. Continue by clicking the READY button below.
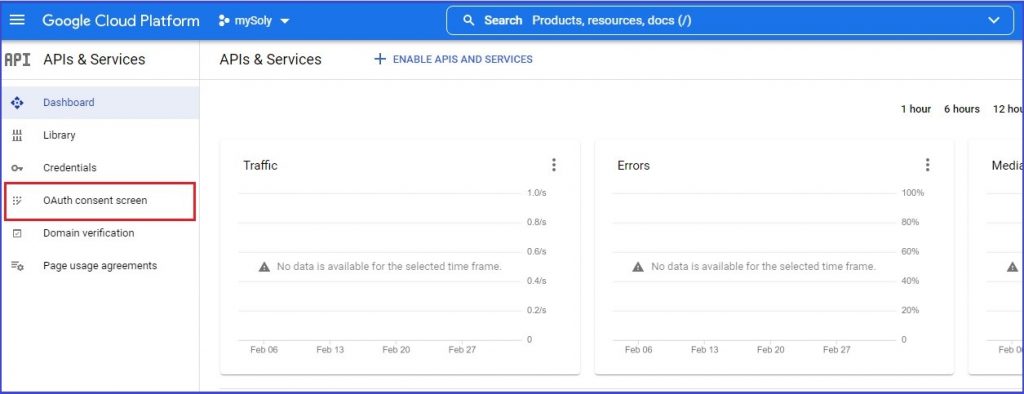
16- Click on the “OAuth consent screen” option in the left menu.
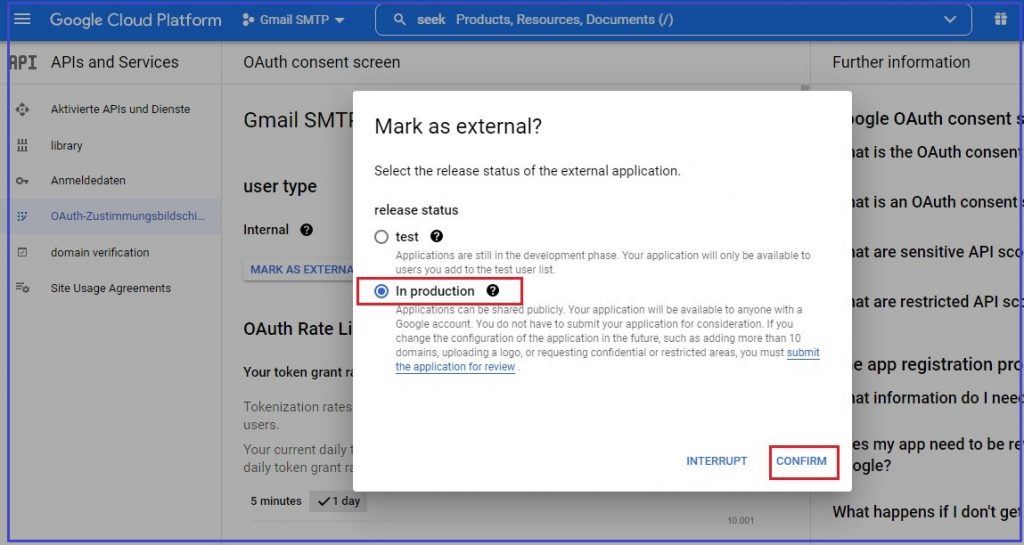
17- On the page that opens, if the user type field appears as internal, click the MARK AS EXTERNAL button just below it.
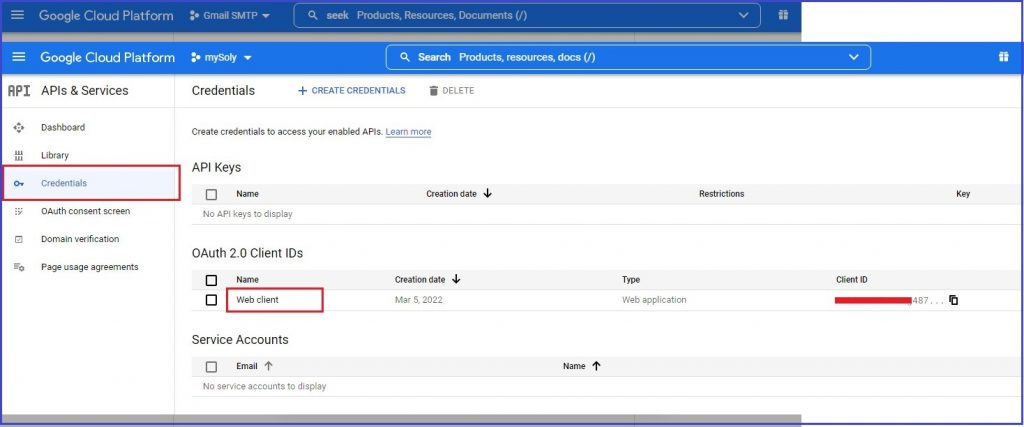
18- CONGRATS! Thus, you have created your “Client ID” and “Client Secret” keys to use on the Gmail SMTP you will configure on your website. In order to access these keys information when you want, click on “Credentials” option in the left menu and click on “OAuth 2.0 Client IDs Name” on the page that opens.
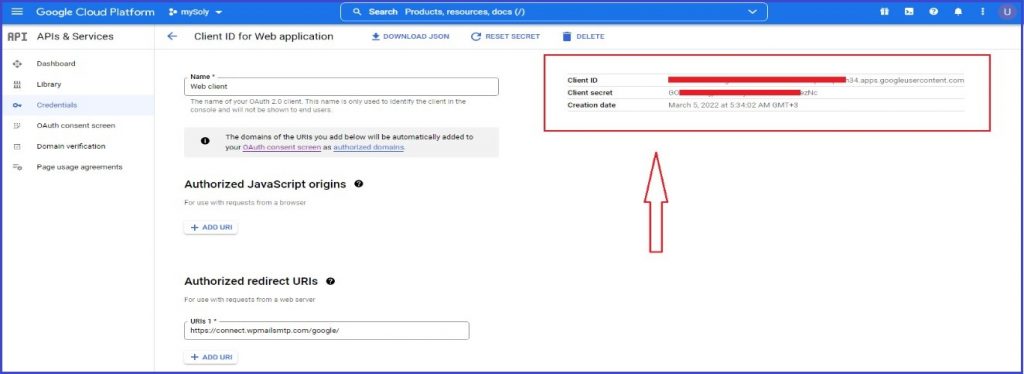
19- You can share the information on the right of the page that opens with your website developer when requested.
These steps guide you through setting up Gmail SMTP for your WordPress site using the Google Developers Console. Remember to keep your Client ID and Secret secure and only share them with trusted parties.
Mysoly | Your partner in digital!