Embedding a React project into other websites for enhanced EdTech solutions
Introduction
In this article, we will explore the process of embedding React projects, created using *create-react-app*, into another website. This discussion will also provide a brief overview of the React library’s structure and its build process. While there is ongoing debate about whether React is a library or a framework, we will refer to it as a library, aligning with the terminology used in the official documentation.
At Mysoly E-Learn, we leverage this technical approach in our EdTech projects to enhance the integration of interactive learning tools into various platforms, providing a seamless user experience for both students and educators.
React library and webpack
React is a library used to create user interfaces with modern JavaScript. React applications often follow the Single Page Application (SPA) concept. This means the entire project runs through one index.html file, without creating separate HTML files for each page.
In React projects, all components and files are usually combined into one file, like main.js or bundle.js. This process is handled by Webpack, a module bundler included with create-react-app.
React Project Structure
A typical React project includes the following main files and folders:
- Src Folder: The main folder that holds React components. For example, we created a component in src/pages/Banner/Banner.js.
- App.js: The central file that brings all components together.
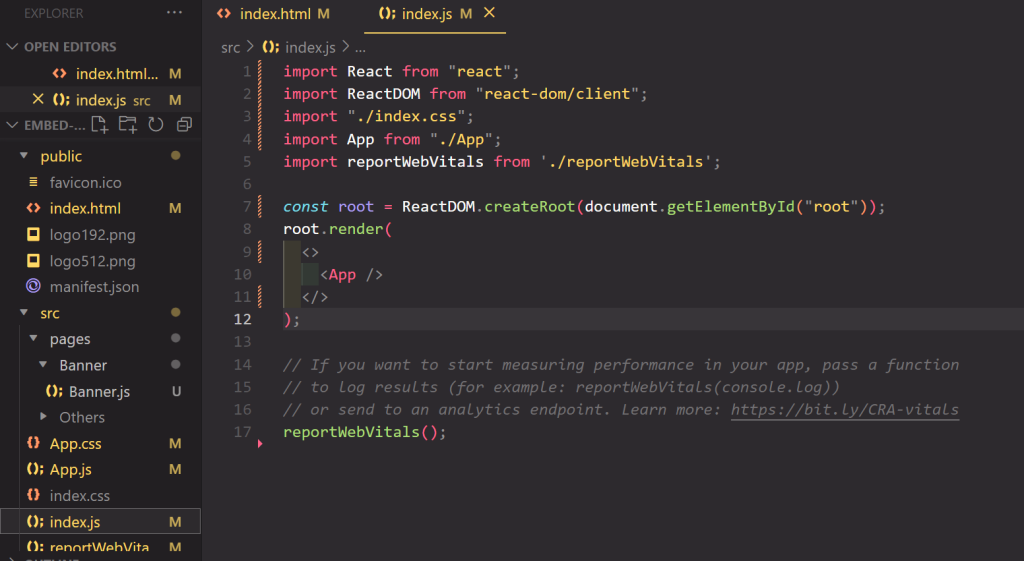
- index.js: This file renders the App.js component into the id=”root” div element in public/index.html.
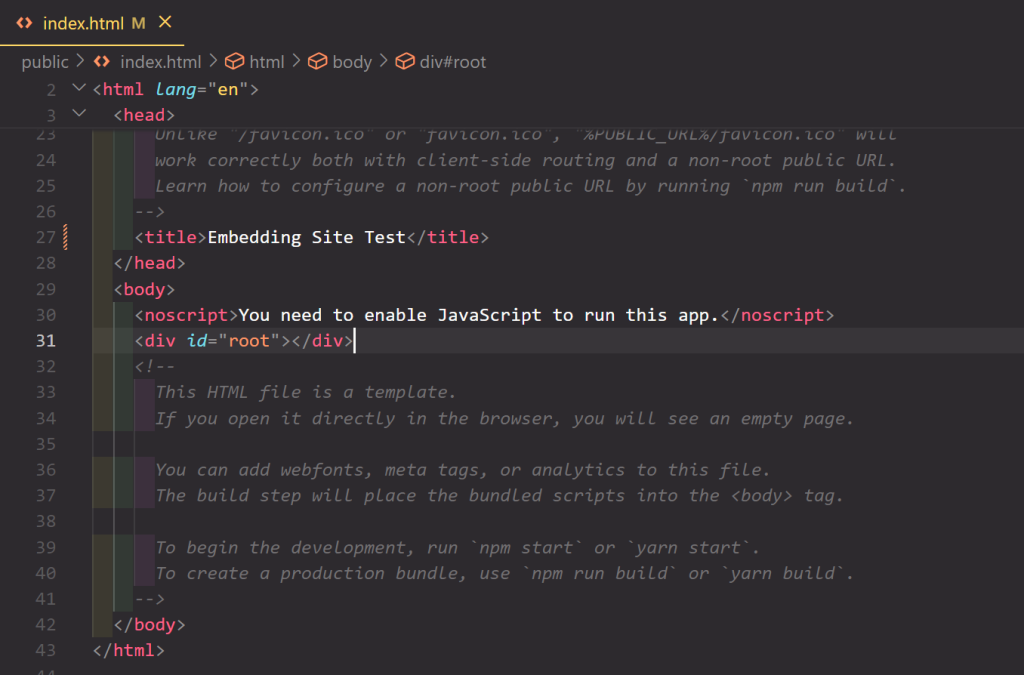
- index.html: The id=”root” div inside this file is where React renders all the content. React performs this process automatically in the background. This id value can be changed if needed, but index.js and index.html files must be synchronised and have the same id value.
Example Project
To demonstrate, we created a React project named “embed-site-test” using the command:
We have prepared a simple banner example to embed it on another website. Also, we have created a component under src/pages/Banner/Banner.js:
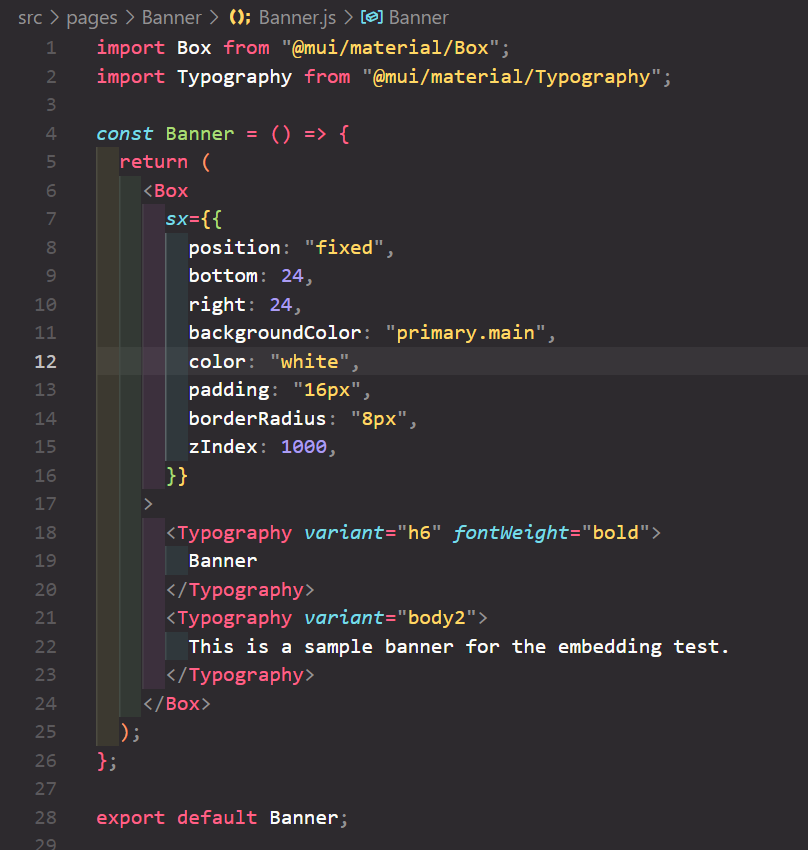
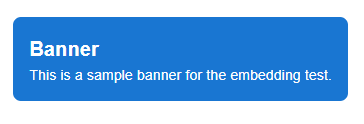
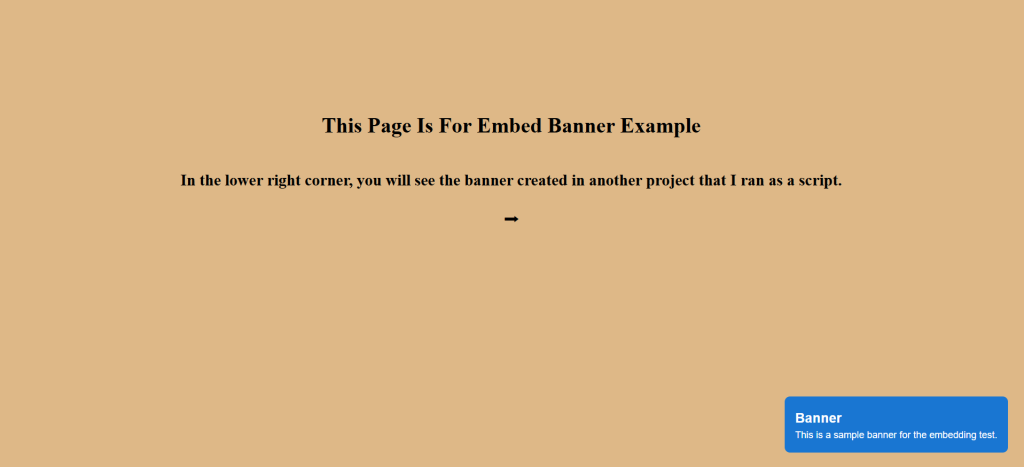
This component, which we use MUI as a CSS library and do inline styling, serves to show a fixed banner and gives us an output like the one below in the lower right corner of the page:
Building the Project and the Static Folder
When deploying a React application or embedding it into another website, you must “build” the project. Building transforms the React application into an optimized and minified format for browsers. Tools like Webpack, Babel, and React Scripts handle this process. Webpack is the tool that analyses all the application files, resolves their dependencies and combines them into a single JavaScript file.
After running the command npm run build in the terminal, you will see a new folder named “build” in the root directory of your project. This folder contains another folder called “static,” which holds the necessary JS, CSS, and media files required for the application to run.
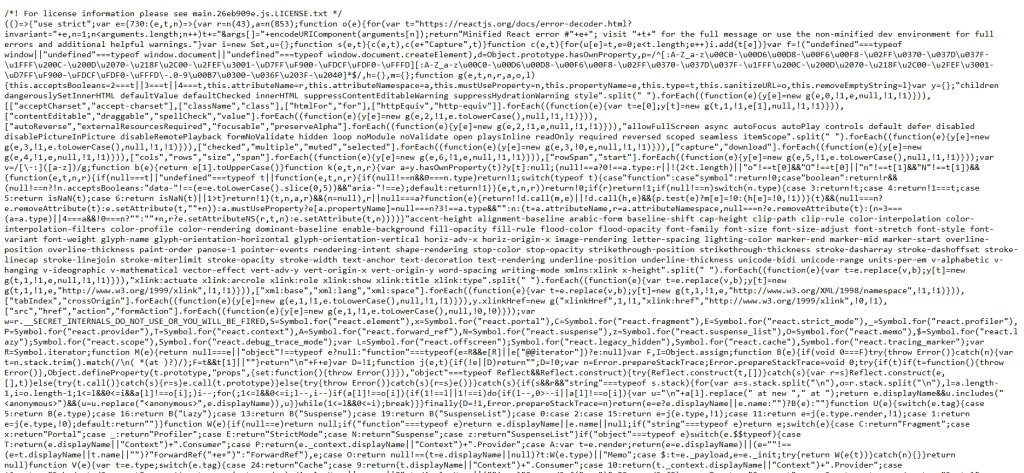
When you open the “static/js” folder, you will find files like the following. Among these files, the one we need is the JavaScript file with the .js extension. Typically, its name is in the format main.<hash>.js. This is the compiled and minified file that contains all the project code.
If necessary, you can rename this file. For example, we renamed it to embed-banner.js. Similarly, inside the static/css folder, you will find a main.<hash>.css file. This file contains all the project styles, compiled and minified.


Uploading the JS File to a Server
After the build process, you will have the main.<hash>.js and main.<hash>.css files, along with any images or other assets used in your project. To use these files on another website, you need to upload them to a server and make them accessible via a public URL.
In the example project, we used inline styling instead of a separate CSS file. Therefore, we only need to upload the JS file.
Once the upload is complete, the main.js (or renamed embed-banner.js) file will be accessible via a URL, such as:
https://example.com/embed-banner.js.
In this example, we skipped uploading the file to a server. Instead, we placed it directly in the target website’s folder and tested it locally. However, for production use, it is typically uploaded to a server.
When you access the provided URL, it leads to the compiled and minified JS file. Although the code may not be readable, this does not matter. The file contains optimized and browser-readable code generated from your React project. For larger projects, this file will likely be more complex.
The next step involves embedding this accessible JS file into the HTML of the target website.
Embedding the File on Another Website
Once your files are accessible, you can integrate them into another website using the <script> tag in the relevant HTML file.
For demonstration purposes, we created a simple HTML file to test the embedding process. This file serves as the index.html of another project.
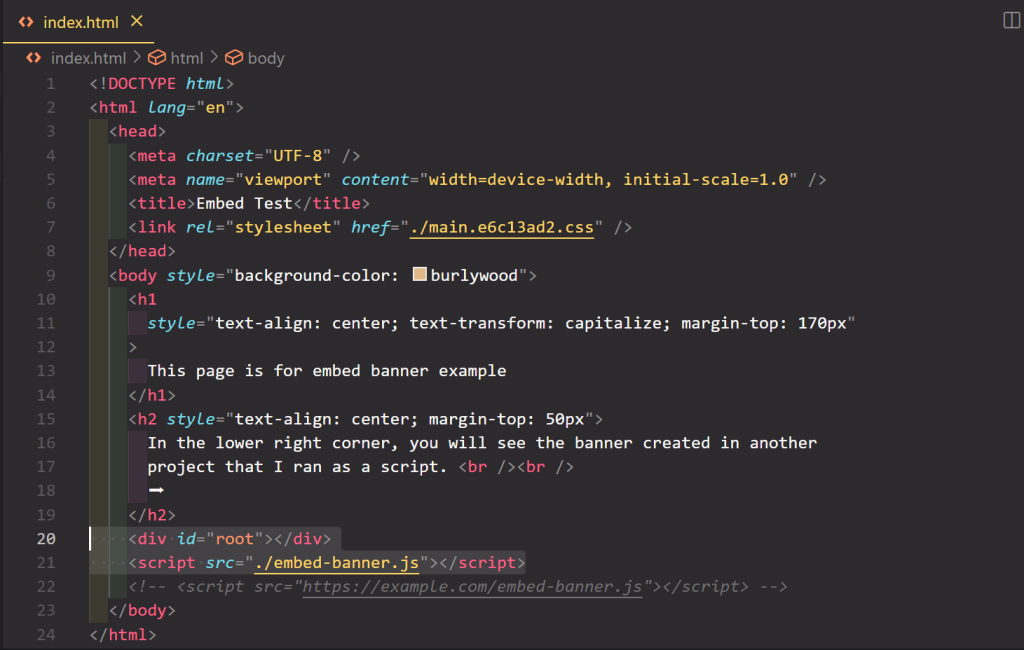
In the HTML file, we included the accessible embed-banner.js file using a <script> tag, as shown below. We also added the root div with the ID “root”, where the React project’s JS file renders its content.
One important note: If the target website is also a React project, its index.html file may already include a div with the default ID “root”. To avoid conflicts, you must change the IDs in either the embedded or the host project.
In this example, the target site is not a React project, so no changes were necessary. When we opened the HTML file in the browser, the React banner component successfully appeared as intended.
Where Can You Use This?
Embedding a React project into another website is incredibly versatile. You can reuse a single component or application across multiple websites. Common use cases include:
- Chatbots for customer support systems.
- Advertisement banners.
- Product reviews or user feedback modules on e-commerce sites.
- Statistical or graphical displays.
Conclusion
Embedding React components is an efficient solution, especially for large-scale projects or when reusing the same component across multiple websites. Instead of rewriting components for each project, embedding them saves time and allows for easy integration across platforms. Centralized updates ensure changes are immediately reflected on all sites.
In the context of EdTech projects at Mysoly E-Learn, this approach plays a key role in enhancing the learning experience by ensuring seamless integration and quick updates. By embedding reusable React components into various educational platforms, we save time, improve scalability, and provide consistent, up-to-date tools for educators and students.
You can save time and effort by creating reusable components in React and embedding them on other websites.


